So I am in the process of putting everything completely together. Some of the things I haven't documented were the routing of new fuel hard lines. 3/8" feed line and a 5/16" return line. Recently picked up a Walbro 255 fuel pump and an Aeromotive Fuel Pressure Regulator. I'll have more pics of these when I get everything mounted.
My seat rails have been a weak point in my interior and called for some reinforcements so I welded an angle bar over the existing material to give it more structural integrity.
I recently discovered my pilot bushing had a crack so I decided to replace the piece.
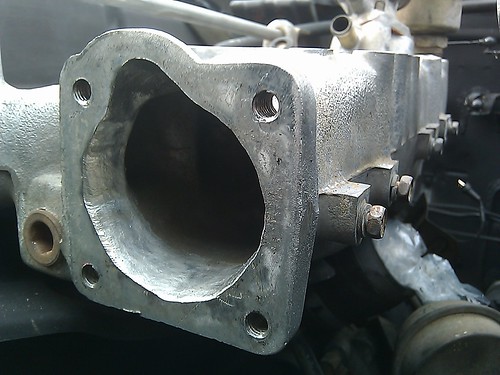
With the engine out I also needed to modify my intake manifold to fit 370CC injectors and decided to make my own fuel rail instead of reusing the stock limited fuel rail.
Before I finish up the fuel rail I need to pick up some fittings for the injectors and the feed/return line.
This is for now til I gather the rest of the materials needed. Stay tuned!
So I think it's about that time for another post. Hopefully the past posts has gotten some interest, but I think we need to see where we're at and enough of where we're from.
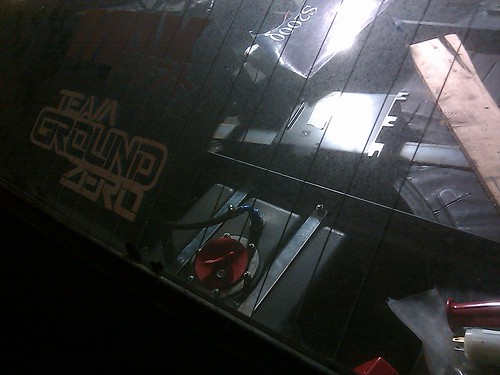
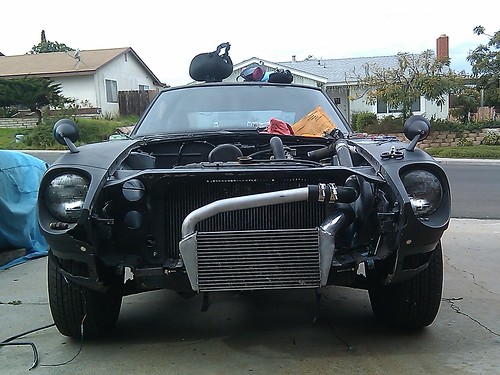
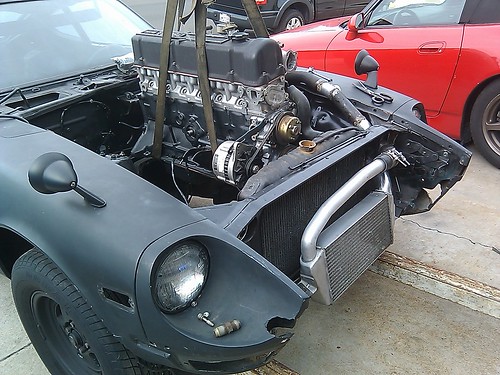
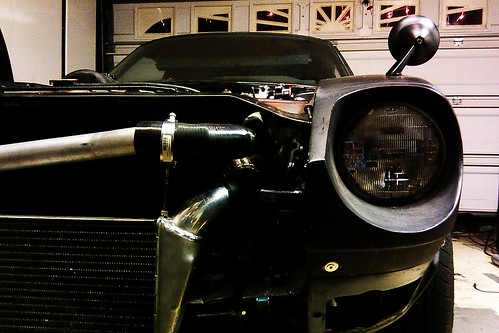
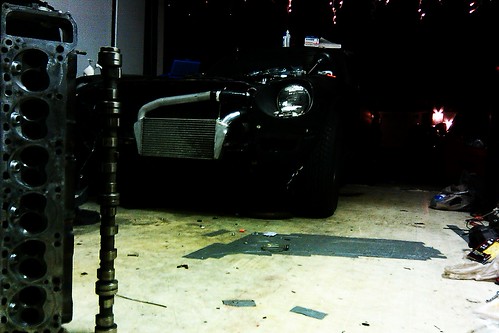
So I've been MIG welding for a short time and I lack a lot of experience. My welds can definitely use some work, but anyway here's the specs. I'm using a Toyota Starion intercooler, pretty decent sized for the turbo setup I'm running. I had to get the end takes modified to fit better and to operate better performance-wise. The cold side has a 2" inlet whereas the hot side has a 2.5" outlet. Since the intercooler was aluminum, I couldn't weld it. So I took it to PartShopMax right off Miralani Rd. This is by far one of the most reputable shops that I know of and highly recommend them for any fabrication, from body work to engine work. Enough of the essay.
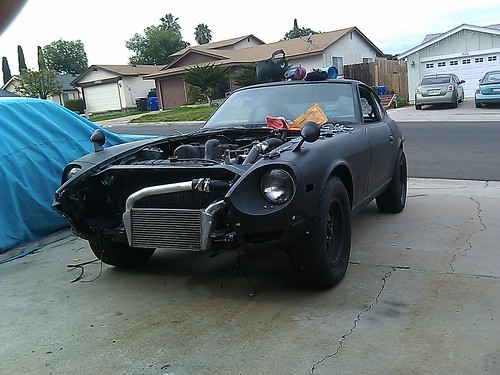
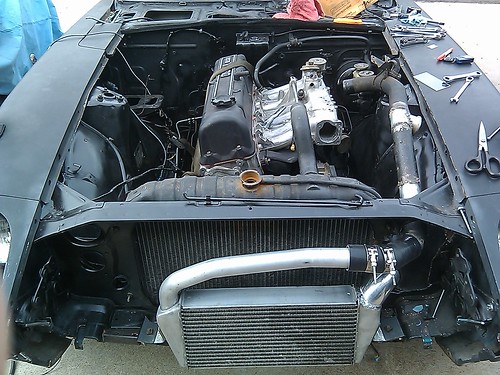
Heres a birds eye view of things going on under the hood. I'm using exhaust piping rather than aluminum piping simply because I lack the proper equipment to weld aluminum and I had a ton of extra 2.5" piping. I was able to modify the stock 280ZX Turbo J-Pipe to be used as the cold-side piping to my intercooler.
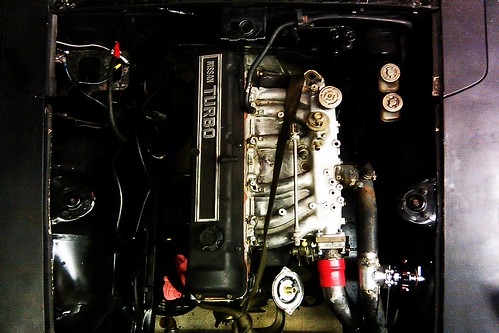
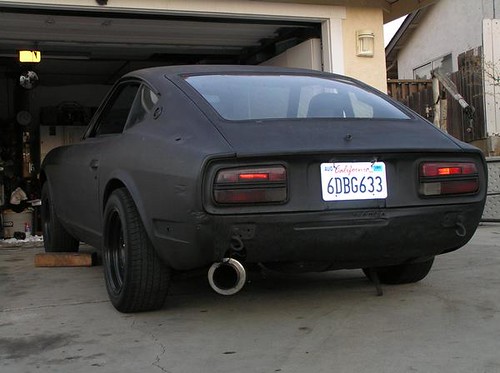
So a little background on this motor. It's from a 1983 Nissan 280ZX Turbo. This car originally lacks an intercooler and to my understanding runs off of 7 PSI. The motor is rated to have around 180-200 ish HP. It's not much, especially into a car weighing close to 3,000 lbs, but if you add a Starion intercooler, customized piping, 240sx 60mm throttle body, customized downpipe, tial 50mm BOV, and a good-driver mod :) into a body weighing 2100 lbs. then you do the math. It isn't insane mods but it's definitely enough for the present time.
A little background on the car. It's currently using the close-ratio 5 speed from a late model 280zx, welded R200 diff (done by Part Shop Maxx), MSA Front and rear sway bars, 7/8 " in the front and 1 1/4" on the rear (I think?), Tokico Illumina Shocks with MSA lowering springs (I'm planning on sectioning the struts, but we'll save that for another post). Anyway this is most of the stuff that's done to the car, but there's just way too much to name off the top of my head.
So this is all I got right now until I take more pictures. For the most part, I haven't gotten shots of everything yet, so there's more to come. The car will definitely be running before the end of this month so I'll be sure to get footage. By the way, if there's anything in particular you have questions about or any parts you want me to go over please let me know. Thank you all for reading and stay tuned!
Happy Thanksgiving everyone, hope you are all enjoying your break.
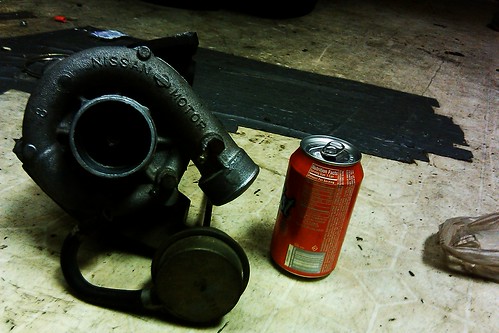
So it's a tiny turbo but it's still going on my car. I've got 3 identical turbos lying around my garage that need to be rebuilt, so if you are in the market hit me up!
I decided to add another post simply because this year is coming to a close real soon, and I have set the date of my black Z to be running by the end of this year!
So right where we left off. In the previous post, the footage of my car in the video was after rebuilding the motor.
Super sluggish, but it's expected for a Junkyard motor.
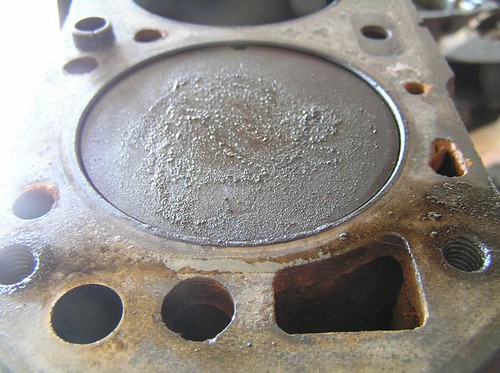
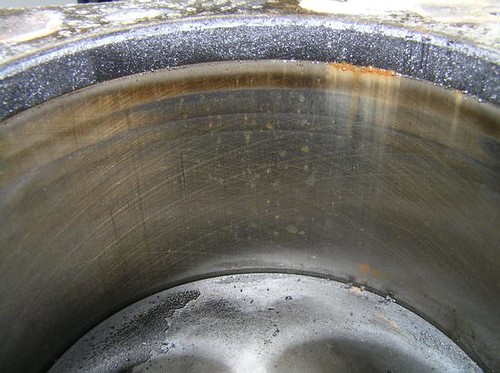
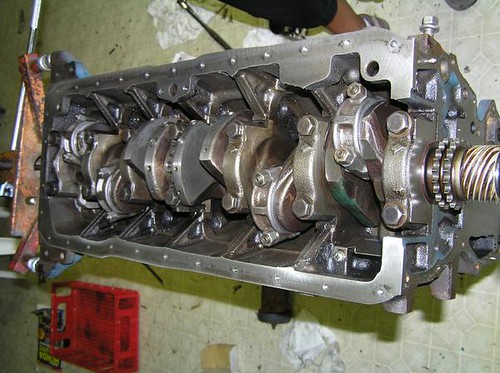
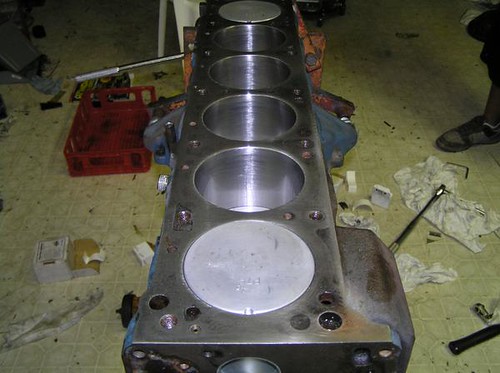
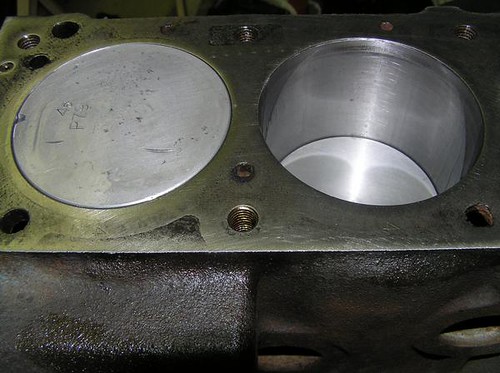
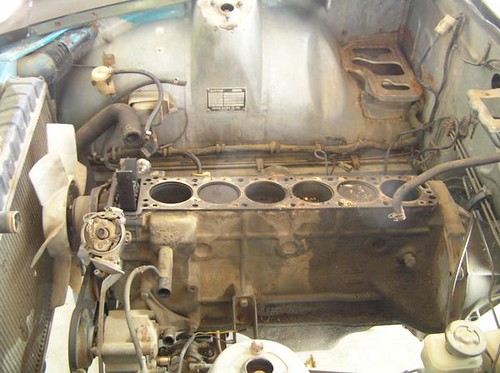
The cross-hatches are still visible in all cylinders! This is the main thing to look for when sourcing out a good engine block. These are the markings straight from the factory or last rebuild-date.
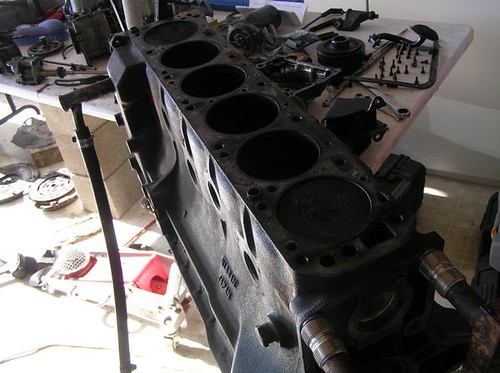
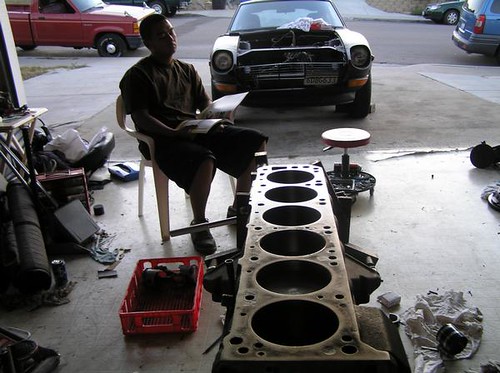
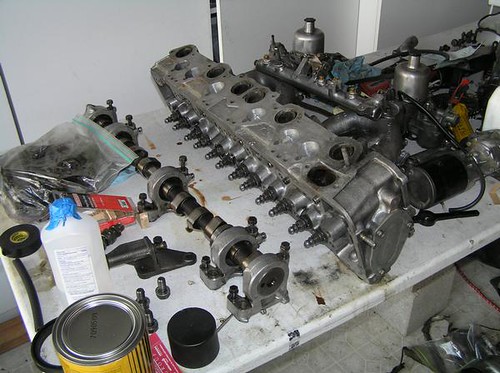
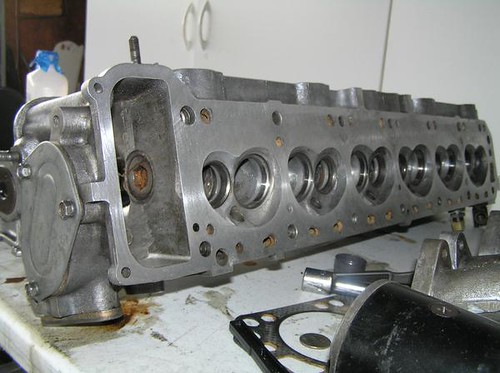
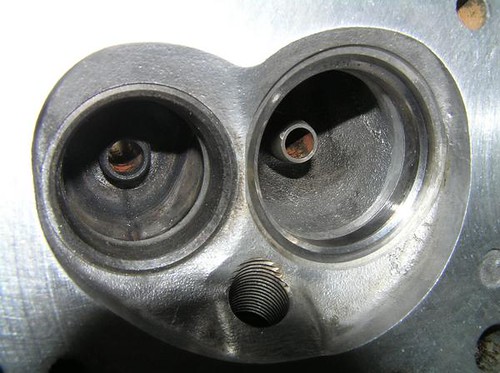
So I had everything apart. Since I had the cylinder head off I decided to smooth out the valve bowls, and port the intake runners. Since I was rebuilding the motor, of course I had to replace all gaskets and seals to ensure I wouldn't be burning too much oil.
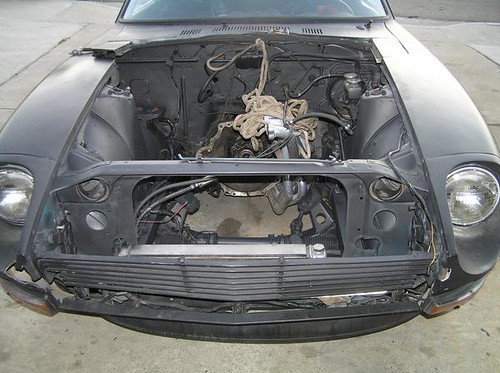
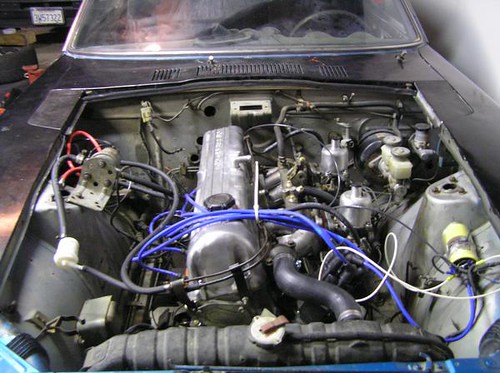
Might as well spray up the engine bay while I had it out.
So as it comes together clean, I cannot find the rest of the pictures. They must've been on my old computer and didn't load them online.
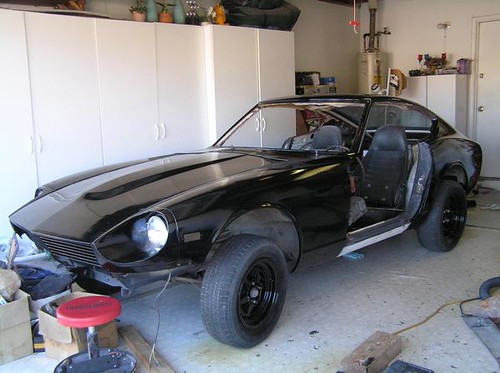
I did finish the rebuild, had the block painted red and everything. Car ran like a champ, you can see in the previous post. Since it ran so good, I'm planning on building the same setup. On this...
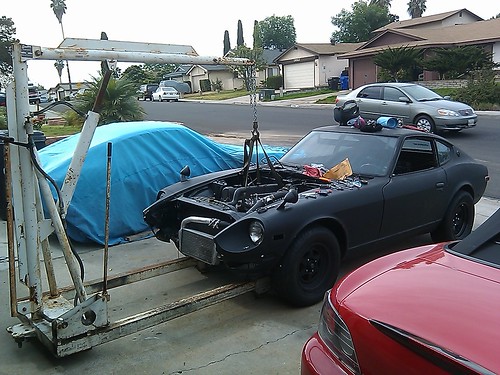
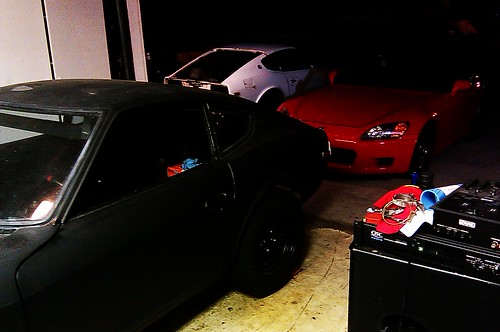
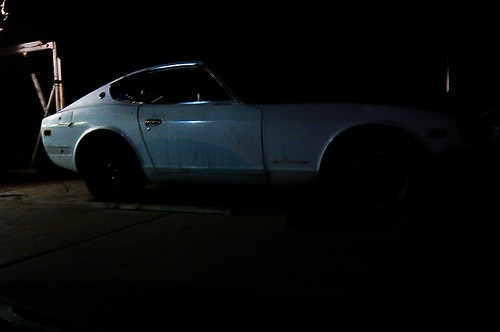
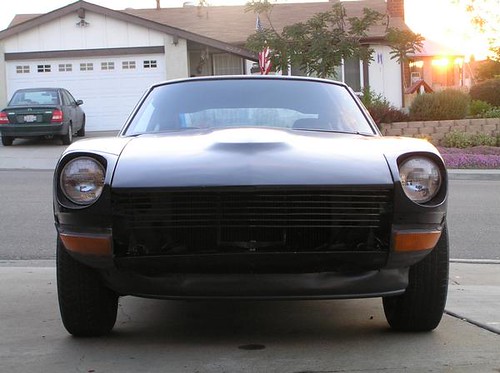
Just picked this up on 11/08/10 for $120. The previous owner was planning on parting it out and sending it to the Junkyard. It's a 1972 Datsun 240Z, same year as mine! This car is definately going to do some damage. I'll be running the same setup as before. Before I start working on her I will have to start wrapping things up for the Black 240Z.
Next year I will probably start restoring the White 240Z. I will surely keep track of every single thing done to the car because it is one my regrets when I first picked up my Black S30Z.
Here's some footage of my Z the last time it was running, right before the motor was sold.This was a high compression build from an MN47 cylinder head on top of a 2.8 Flattop Block. The 12lb. Fidanza flywheel was responsible for the quick revs on this thing.
It has been about one year since this car was last running, Just been sitting in the garage collecting dust while I put together a turbo build, but this is where the Z came from day one.
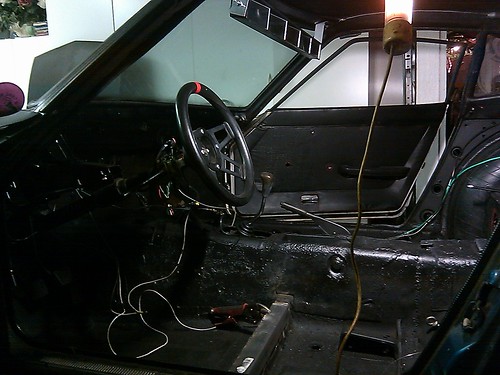
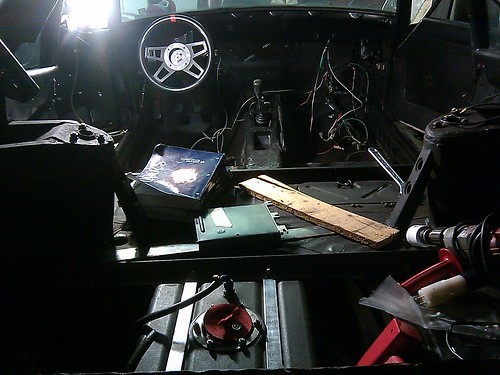
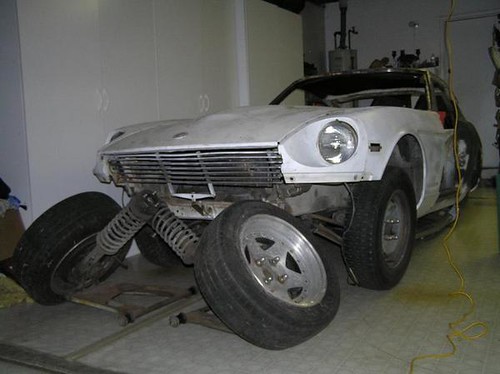
I got the car on October 30th of 2008. This was a rolling shell less the engine and wiring.
You can see how bare this thing was and how much work was needed.
This actually came with the car, but it was obviously shot. The 4-speed on the other-hand was still in good shape.
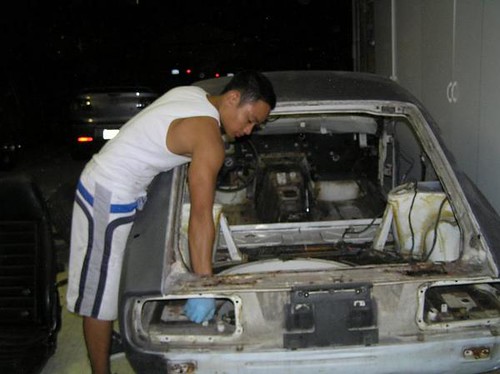
And of course I had to drop in a real motor. Since my first day working on the car, I had no prior knowledge to working on cars in general. However I was found by the Martello brothers at the local junkyard wrenching inside an engine bay "attempting" to pull out a donor motor. They taught me everything I know and taught me to keep learning. If there is anyone that needs anything done to their car the right way in San Diego just let me know and I'll hook you up with them.
Of course the garden divider lip was necessary.
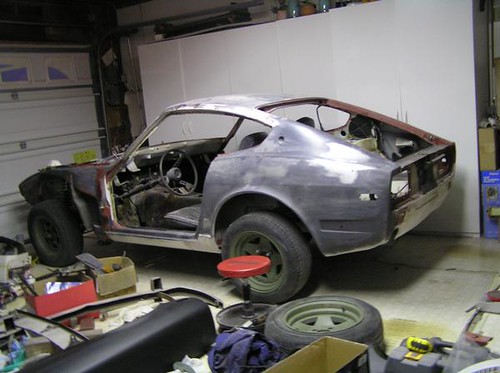
These are some of the first stages of my 240Z's build-up. This car has gone through many changes throughout my ownership and I'll be sure to keep you all posted!
Thanks for reading. I'll be updating this weekly with all the projects I've done on the Z and it's current state, so stay tuned.