Sunday, October 30, 2011

Pissing Blood

Pissing blood? Not really, but it may be possible with this. This a Paughco Frame with a Harley Davidson Sportster motor. Terms in the motorcycle world have been brutally murdered over and over again to the point where definitions are no longer accurate, but for the most part this can be considered a chopper.

The fork has a rake of 40 degrees which is definitely more than stock. This decreases my turning radius altogether, but increases my stability at higher speeds. The lack of maneuverability is hazardous under the wrong hands, but completely  manageable with the right execution.


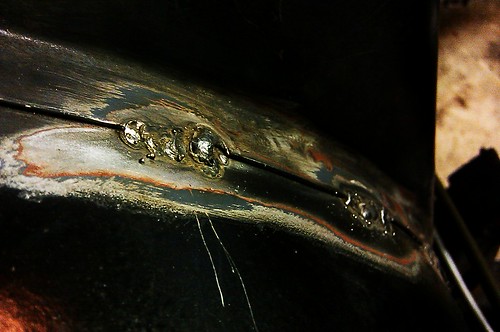
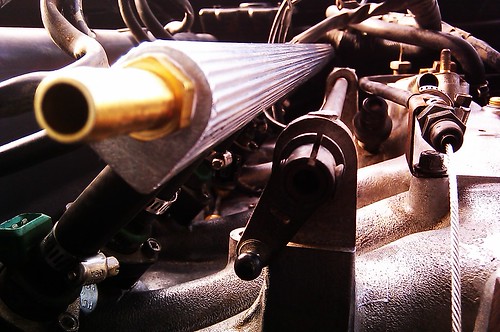
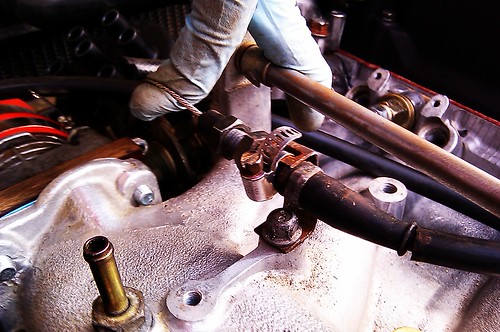
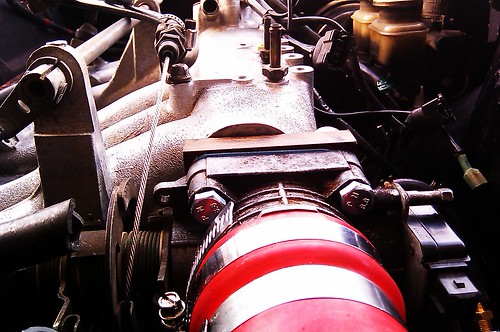
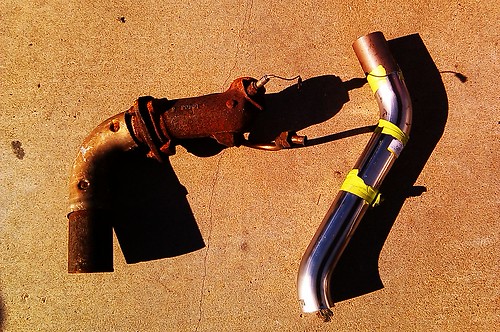
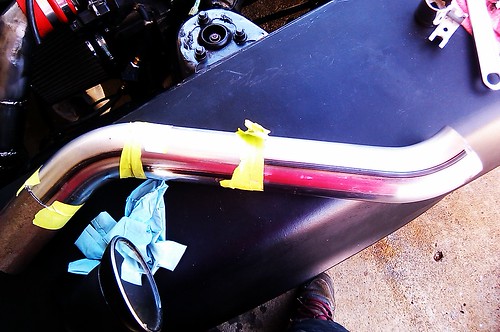
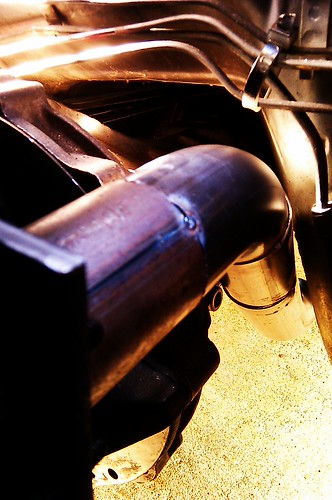
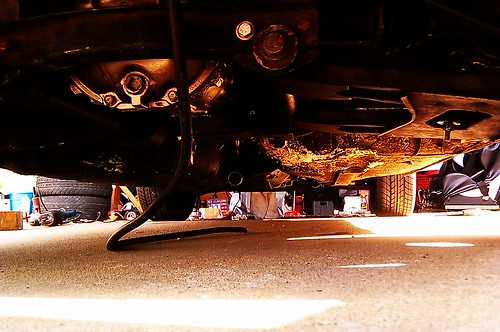
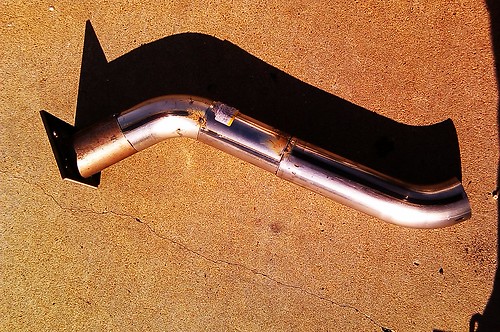
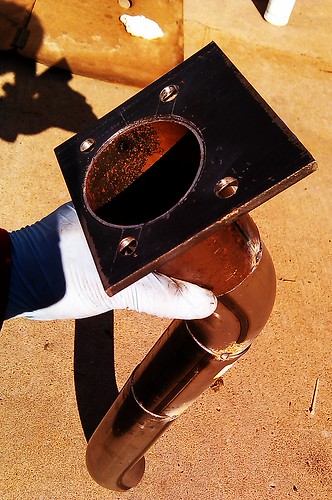
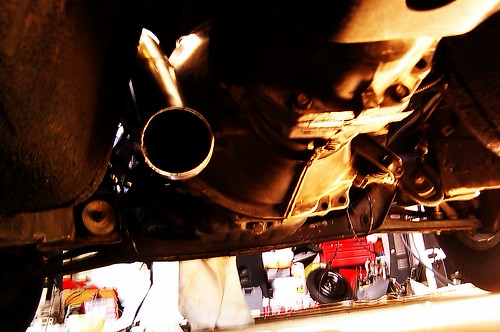
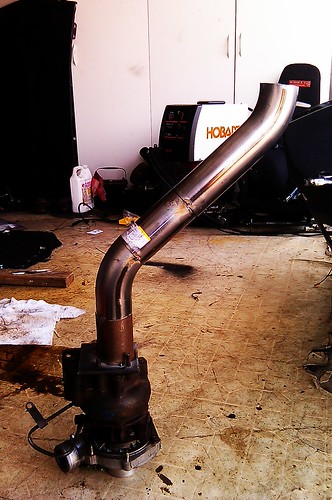
The engine is from a 95 Harley Davidson Sportster as mentioned above, and is an 883 cc motor. It definitely picks up quick on the low-end, and helps with pulling the heavy load. On another note, the exhaust pipes are about 1.75" with no baffles or mufflers which can get loud as hell.A lot of people refer to this style of exhaust as loudpipes.

On the back end of things, you'll notice the bike does NOT have a rear suspension. My ass absorbs every bump and dip the road has to offer, and can get pretty rugged at times. Some riders that have the same setup have pissed blood at times from long and strenuous rides over shitty roads. Mainly because your kidneys get rattled up like a mother. For those commuters on Mira Mesa Blvd, you know exactly what I mean. Why would someone want a bike without a rear suspension? Because it is raw as fuck, looks damn good and I let the vehicles I ride explain who I am.
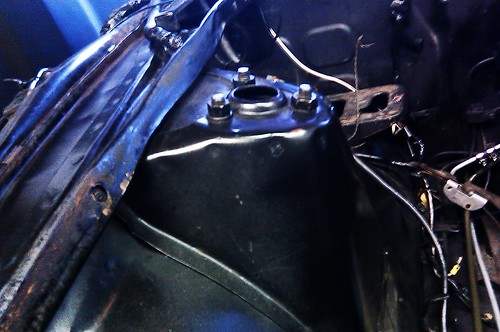
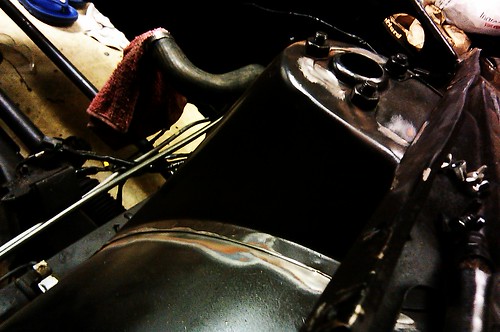
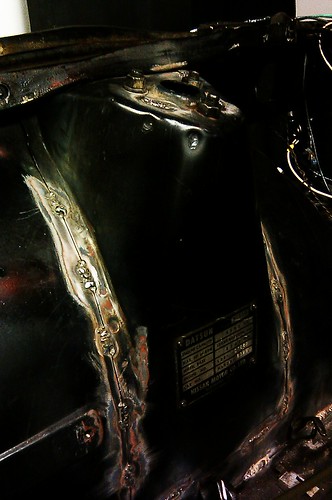
I have a 2 Gallon Gas tank. Frisco mounted, and I love the way it looks on the frame. This bike is completely minimal, and has a solo-seat with a 300lb. spring which is just too stiff for my light ass. Overall this bike is all bare bones, and only has the things on it that allow it to run.


For my drifters and stance lovers out there. I am riding on a ground clearance of 2" at the lowest point of my frame. I scrape once and a while especially when I lean too much on the turns. Please note. I ride this bitch slow if the road isn't straight, so if you are behind me I suggest you pass me up.

Yes I only have one side-view mirror. No I am not waving at you I am using hand signals. Yes your're right, I don't have a front fender so water and rocks do get kicked up to my face. Just to match the lack of a front fender, I don't have a speedometer to see exactly how fast I am going. Last but not least, if you see me on the side of the road parked chances are I probably ran out of gas because I wanted a bike without a gas gauge. For all you crazy drivers out there, please keep bikers in mind, and for all you riders out there, hit me up!

Tuesday, January 4, 2011

Do It Right The First Time

Hey guys, It's been a while since my last post, but I can assure you the last month has been very progressive. Unfortunately I did not finish the car by the end of the last year, but this really isn't something that is meant to be rushed. Careful designing and fabrication need to be integrated into this whole process of blueprinting and planning. With this said, I decided to beef up the weaker parts of my car that are prone to breaking under more power. Here we go.

IMAG0116

Allow me to introduce you to stich-welding/seam-welding. This is what it is. It's purpose is to strengthen the body overall, and sustain any pressure the motor would send to the car's structure. Decided to do the engine bay before dropping the motor back in.

IMAG0079

This is how the car looked before, so you can get an idea of what exactly is going on.

IMAG0107

IMAG0119

IMAG0114

IMAG0122

And of course I forgot to take pics after I painted it. :)

IMAG0131

So this is what my fuel system consists of. I already routed 3/8 and 5/16 hard lines throughout the transmission tunnel to the back of the car, but here we have a Walbro 255 Fuel Pump, Aeromotive Fuel Pressure Regulator and a custom fuel rail.

I'll go over how the fuel rail was created.

C360_2010-12-11 19-30-40

This is what I received from the shop. 24" fuel rail unmolested and plain. I began taking measurements with a micrometer to ensure accuracy in the places I needed to drill.

C360_2010-12-11 20-07-08

Now the marking and drilling begins.


IMAG0098

C360_2010-12-11 20-06-54

IMAG0088

IMAG0093

IMAG0162

IMAG0161

While we are still on this area of the car, I salvaged a throttle cable from a S14 240SX, which is built with good quality compared to the older Datsun cables, I rigged up a bracket to hook it up to my throttle body.

IMAG0152

IMAG0153

The other thing I got done on the car was designing a downpipe right off the turbo. The pictures are self-explanatory in this process check it out.

IMAG0141

So here's a comparison between the stock downpipe and my downpipe. The OEM part is extremely restrictive with 90 degree bends. This hinders the overall flow of an exhaust system and makes it difficult for the exhaust gases to exit the system quickly. With my design, I aimed to make the pipe as straight as possible and this is what I came out with.

IMAG0138

IMAG0148

IMAG0159

IMAG0142

IMAG0143

IMAG0158

IMAG0146

And this is what it looks like off the turbo. It has a 2.5" ID (Inner Diameter) and will be going to a 3".

Onto the control of boost! I went to Marshalls and picked up some plumbing stuff and created a manual boost controller. This will allow me to increase or decrease my boost levels. I'm planning on routing this into the cabin of the car where I can just twist the knob and have the boost kick up to whatever level I'd like.

IMAG0125

So I hate to cut a long story short but this is all I have so far. With school out, I am constantly working on my car nowadays as soon as I have the chance. There is little left to get the car started so I am really pushing to achieve that. Hopefully everything will come together within the next week or so. Thanks for reading!


Monday, December 13, 2010

Backyard Mech ish

So I am in the process of putting everything completely together. Some of the things I haven't documented were the routing of new fuel hard lines. 3/8" feed line and a 5/16" return line. Recently picked up a Walbro 255 fuel pump and an Aeromotive Fuel Pressure Regulator. I'll have more pics of these when I get everything mounted.


My seat rails have been a weak point in my interior and called for some reinforcements so I welded an angle bar over the existing material to give it more structural integrity.

C360_2010-12-03 21-06-59

C360_2010-12-03 21-08-15

C360_2010-12-03 21-09-04

I recently discovered my pilot bushing had a crack so I decided to replace the piece.

C360_2010-12-04 10-20-10

C360_2010-12-04 10-20-33

C360_2010-12-04 10-21-07

C360_2010-12-04 10-21-49

C360_2010-12-04 10-31-45

C360_2010-12-04 10-40-52

With the engine out I also needed to modify my intake manifold to fit 370CC injectors and decided to make my own fuel rail instead of reusing the stock limited fuel rail.

C360_2010-12-11 19-30-40

C360_2010-12-11 20-07-08

Before I finish up the fuel rail I need to pick up some fittings for the injectors and the feed/return line.

This is for now til I gather the rest of the materials needed. Stay tuned!

Wednesday, December 1, 2010

Come Together

So I think it's about that time for another post. Hopefully the past posts has gotten some interest, but I think we need to see where we're at and enough of where we're from.

IMAG0043

So I've been MIG welding for a short time and I lack a lot of experience. My welds can definitely use some work, but anyway here's the specs. I'm using a Toyota Starion intercooler, pretty decent sized for the turbo setup I'm running. I had to get the end takes modified to fit better and to operate better performance-wise. The cold side has a 2" inlet whereas the hot side has a 2.5" outlet. Since the intercooler was aluminum, I couldn't weld it. So I took it to PartShopMax right off Miralani Rd. This is by far one of the most reputable shops that I know of and highly recommend them for any fabrication, from body work to engine work. Enough of the essay.

IMAG0045

Heres a birds eye view of things going on under the hood. I'm using exhaust piping rather than aluminum piping simply because I lack the proper equipment to weld aluminum and I had a ton of extra 2.5" piping. I was able to modify the stock 280ZX Turbo J-Pipe to be used as the cold-side piping to my intercooler.

IMAG0046

So a little background on this motor. It's from a 1983 Nissan 280ZX Turbo. This car originally lacks an intercooler and to my understanding runs off of 7 PSI. The motor is rated to have around 180-200 ish HP. It's not much, especially into a car weighing close to 3,000 lbs, but if you add a Starion intercooler, customized piping, 240sx 60mm throttle body, customized downpipe, tial 50mm BOV, and a good-driver mod :) into a body weighing 2100 lbs. then you do the math. It isn't insane mods but it's definitely enough for the present time.

IMAG0027

A little background on the car. It's currently using the close-ratio 5 speed from a late model 280zx, welded R200 diff (done by Part Shop Maxx), MSA Front and rear sway bars, 7/8 " in the front and 1 1/4" on the rear (I think?), Tokico Illumina Shocks with MSA lowering springs (I'm planning on sectioning the struts, but we'll save that for another post). Anyway this is most of the stuff that's done to the car, but there's just way too much to name off the top of my head.

l_7ba5d5a624526b55f9a57ca1b13a419f

So this is all I got right now until I take more pictures. For the most part, I haven't gotten shots of everything yet, so there's more to come. The car will definitely be running before the end of this month so I'll be sure to get footage. By the way, if there's anything in particular you have questions about or any parts you want me to go over please let me know. Thank you all for reading and stay tuned!
Published with Blogger-droid v1.6.5

Saturday, November 27, 2010

Behind the Scenes

IMAG0031

Happy Thanksgiving everyone, hope you are all enjoying your break.

So it's a tiny turbo but it's still going on my car. I've got 3 identical turbos lying around my garage that need to be rebuilt, so if you are in the market hit me up!

I decided to add another post simply because this year is coming to a close real soon, and I have set the date of my black Z to be running by the end of this year!

l_07305cb28df01ab527305c9168ac5cd6

So right where we left off. In the previous post, the footage of my car in the video was after rebuilding the motor.

l_856dc93afc9a65f7f4b099e3a98d932b

Super sluggish, but it's expected for a Junkyard motor.

l_7a66674641516f751f21526bc8d538c2

The cross-hatches are still visible in all cylinders! This is the main thing to look for when sourcing out a good engine block. These are the markings straight from the factory or last rebuild-date.

l_5938eaa17392e8a0364c4ad01fd565c6

l_a8c605ff76532433619a2f84afe60550

l_d21db74a870ac7b5d8d718c0784eb0e2

l_0c014a6dd4b38f0ec9b2cdbe64c4fb43

So I had everything apart. Since I had the cylinder head off I decided to smooth out the valve bowls, and port the intake runners. Since I was rebuilding the motor, of course I had to replace all gaskets and seals to ensure I wouldn't be burning too much oil.

l_22017c44e13482b50183359e295c4b05

Might as well spray up the engine bay while I had it out.

l_a94fd6789a8fd44e76cec4790bb5a115

l_3016f195294323c8d2487146f1ec9a88

l_81bec245ac5c2acc8ef2ecd91225cfc8


Engine Rebuild

Illestrait | Myspace Music Videos


So as it comes together clean, I cannot find the rest of the pictures. They must've been on my old computer and didn't load them online.

I did finish the rebuild, had the block painted red and everything. Car ran like a champ, you can see in the previous post. Since it ran so good, I'm planning on building the same setup. On this...
IMAG0054

IMAG0058

IMAG0070

Just picked this up on 11/08/10 for $120. The previous owner was planning on parting it out and sending it to the Junkyard. It's a 1972 Datsun 240Z, same year as mine! This car is definately going to do some damage. I'll be running the same setup as before. Before I start working on her I will have to start wrapping things up for the Black 240Z.

Next year I will probably start restoring the White 240Z. I will surely keep track of every single thing done to the car because it is one my regrets when I first picked up my Black S30Z.

Anyway, Thanks for reading.