
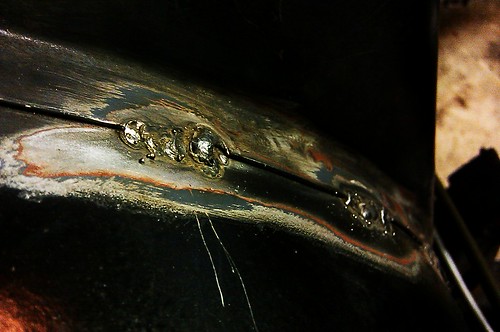
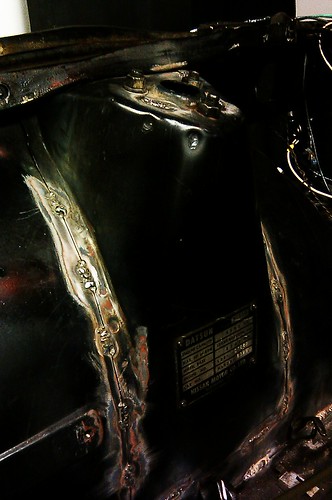
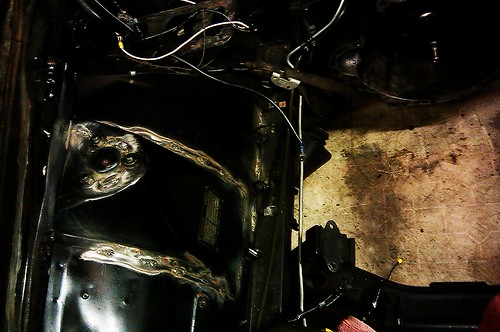
Allow me to introduce you to stich-welding/seam-welding. This is what it is. It's purpose is to strengthen the body overall, and sustain any pressure the motor would send to the car's structure. Decided to do the engine bay before dropping the motor back in.
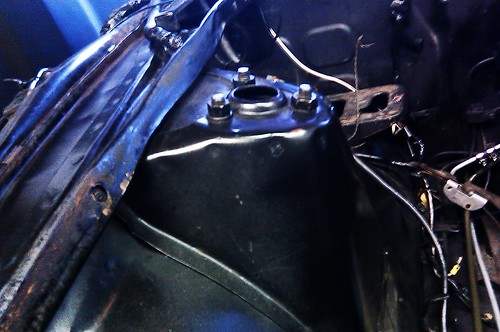
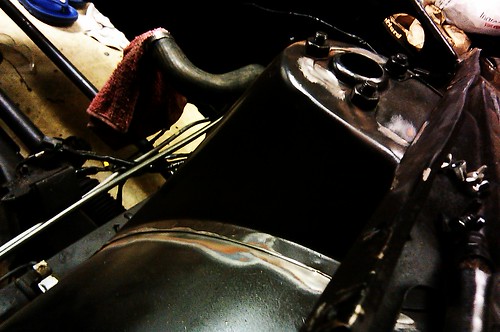
This is how the car looked before, so you can get an idea of what exactly is going on.

And of course I forgot to take pics after I painted it. :)
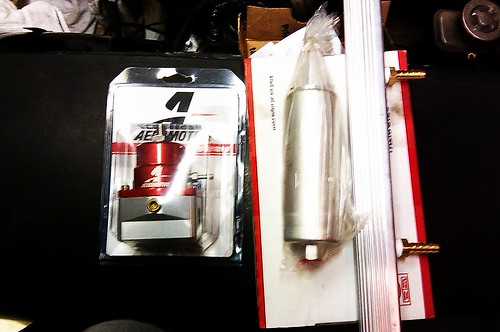
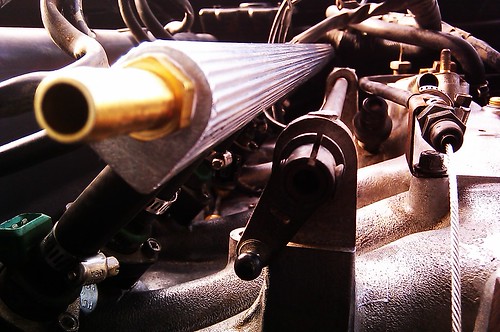
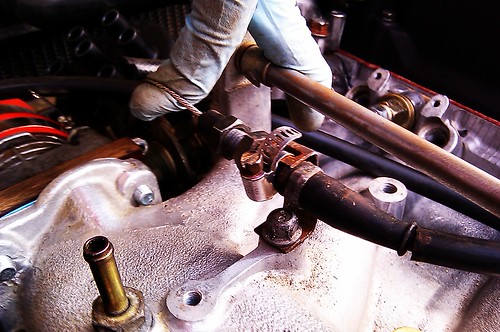
So this is what my fuel system consists of. I already routed 3/8 and 5/16 hard lines throughout the transmission tunnel to the back of the car, but here we have a Walbro 255 Fuel Pump, Aeromotive Fuel Pressure Regulator and a custom fuel rail.
I'll go over how the fuel rail was created.

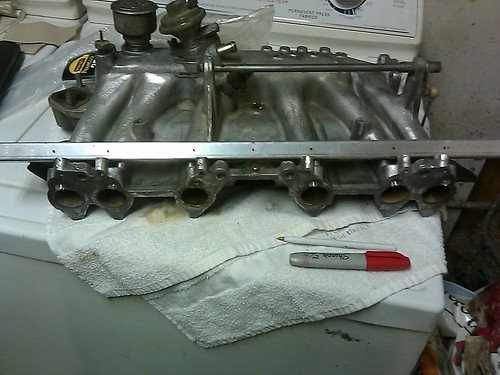
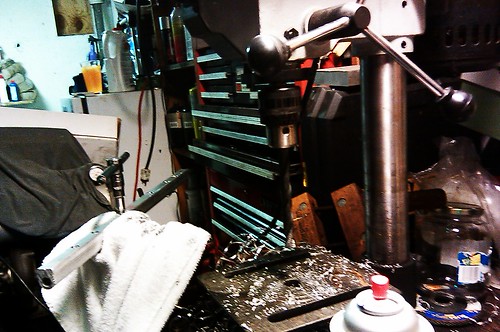
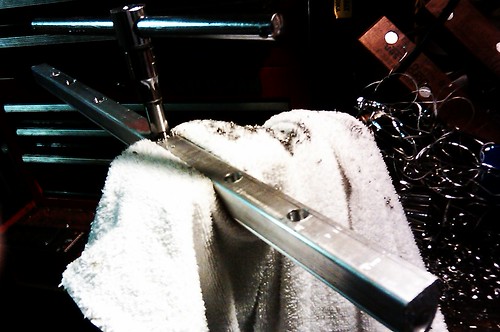
This is what I received from the shop. 24" fuel rail unmolested and plain. I began taking measurements with a micrometer to ensure accuracy in the places I needed to drill.

Now the marking and drilling begins.

While we are still on this area of the car, I salvaged a throttle cable from a S14 240SX, which is built with good quality compared to the older Datsun cables, I rigged up a bracket to hook it up to my throttle body.
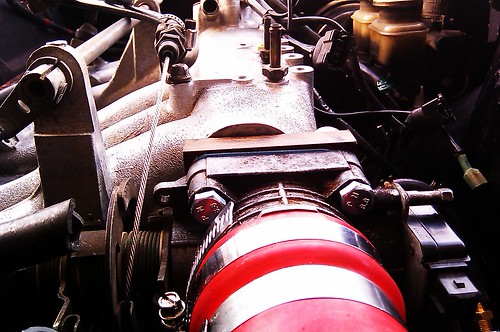
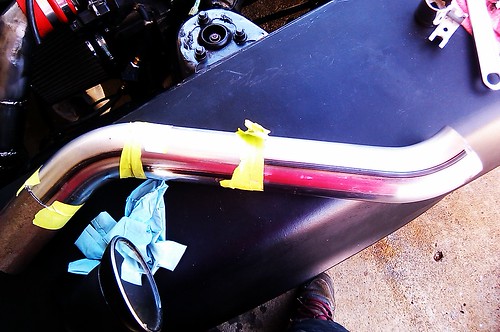
The other thing I got done on the car was designing a downpipe right off the turbo. The pictures are self-explanatory in this process check it out.
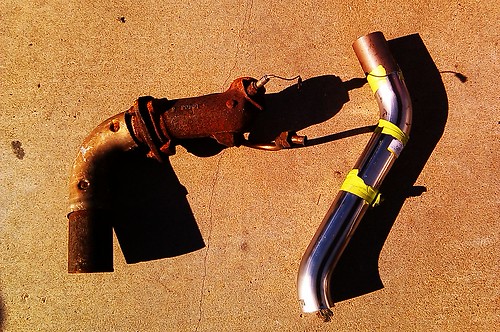
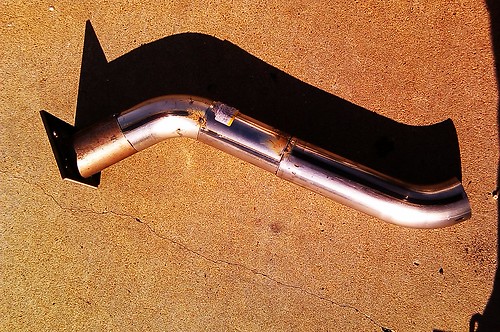
So here's a comparison between the stock downpipe and my downpipe. The OEM part is extremely restrictive with 90 degree bends. This hinders the overall flow of an exhaust system and makes it difficult for the exhaust gases to exit the system quickly. With my design, I aimed to make the pipe as straight as possible and this is what I came out with.
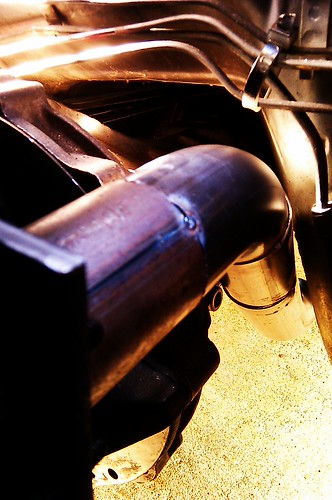
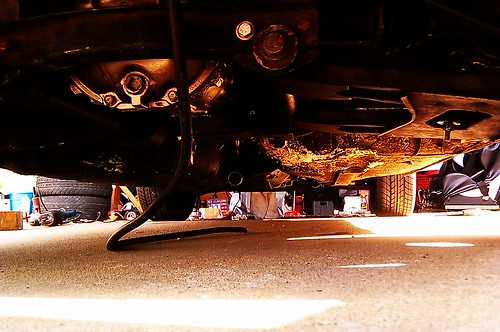
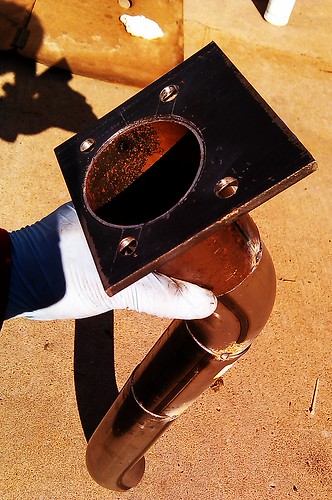
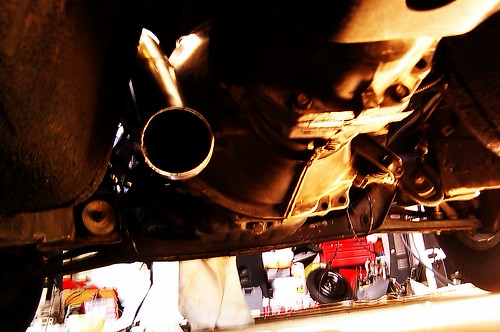
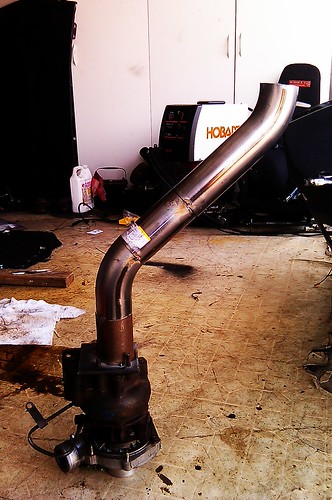
And this is what it looks like off the turbo. It has a 2.5" ID (Inner Diameter) and will be going to a 3".
Onto the control of boost! I went to Marshalls and picked up some plumbing stuff and created a manual boost controller. This will allow me to increase or decrease my boost levels. I'm planning on routing this into the cabin of the car where I can just twist the knob and have the boost kick up to whatever level I'd like.

So I hate to cut a long story short but this is all I have so far. With school out, I am constantly working on my car nowadays as soon as I have the chance. There is little left to get the car started so I am really pushing to achieve that. Hopefully everything will come together within the next week or so. Thanks for reading!
No comments:
Post a Comment